Nothing painted in, no colors changed: how we prepare old photos and woodblock prints

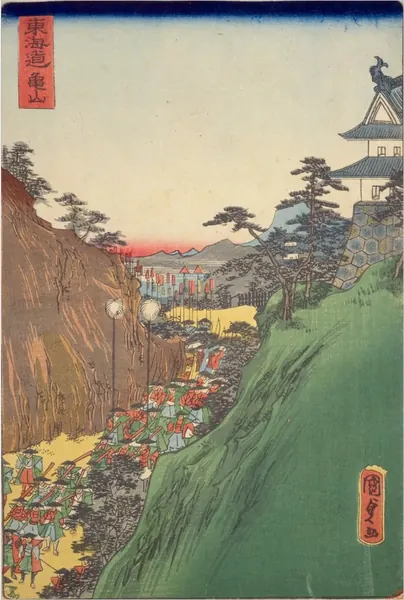
The old photos and woodblock prints on Kioku Kabegami are published online by Japan’s National Diet Library, in its Digital Collections.
Most of the original images are photos of an open book or album (gajo, a bound book of pictures). Around each print or photo, you can see the mount, the edges of the paper, and even the next page. The paper may also sit at a slight angle, or curl up near the binding.
We prepare each image, one at a time, before it goes on the site, so it looks as if the page had been laid flat and scanned from directly above. If a fix would only look forced, we leave the image as it is.
What we don’t do
- Paint in anything that isn’t there
- Change the colors
What we do
- Decide where to crop
- Bring tilted, curved, or squeezed paper back to its original shape
- Even out the shadow at the binding to match the brightness of the paper around it
- Paint over anything showing around round photos in the mount’s color
Here are the six fixes, and who makes the call.
Cropping woodblock prints into rectangles
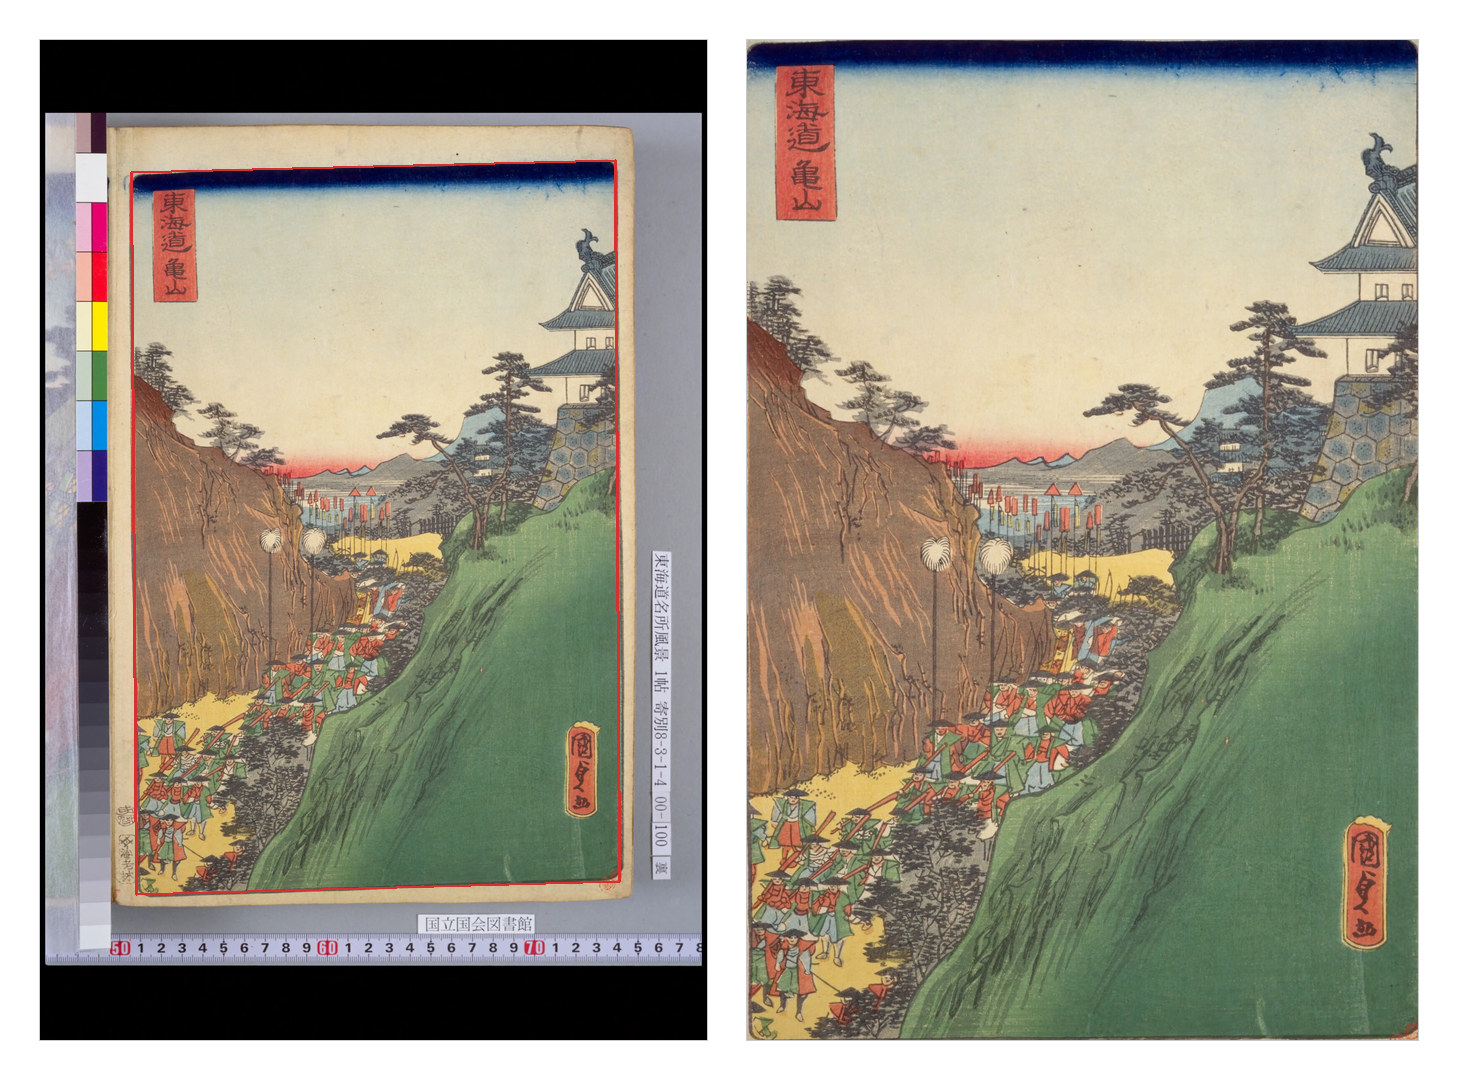
Besides the print itself, the library’s image may show a color chart, a ruler, a catalog number tag, a black background, or the sheet next to it.
We find the four corners of the print’s border and crop to them. If the paper was photographed at a slight angle, we square it back into a rectangle.
If an edge of the print is cut off in the copy we’ve saved, we go back to the National Diet Library for a wider view. For some prints, you can choose “Print only” or “With margins” when you make a wallpaper.
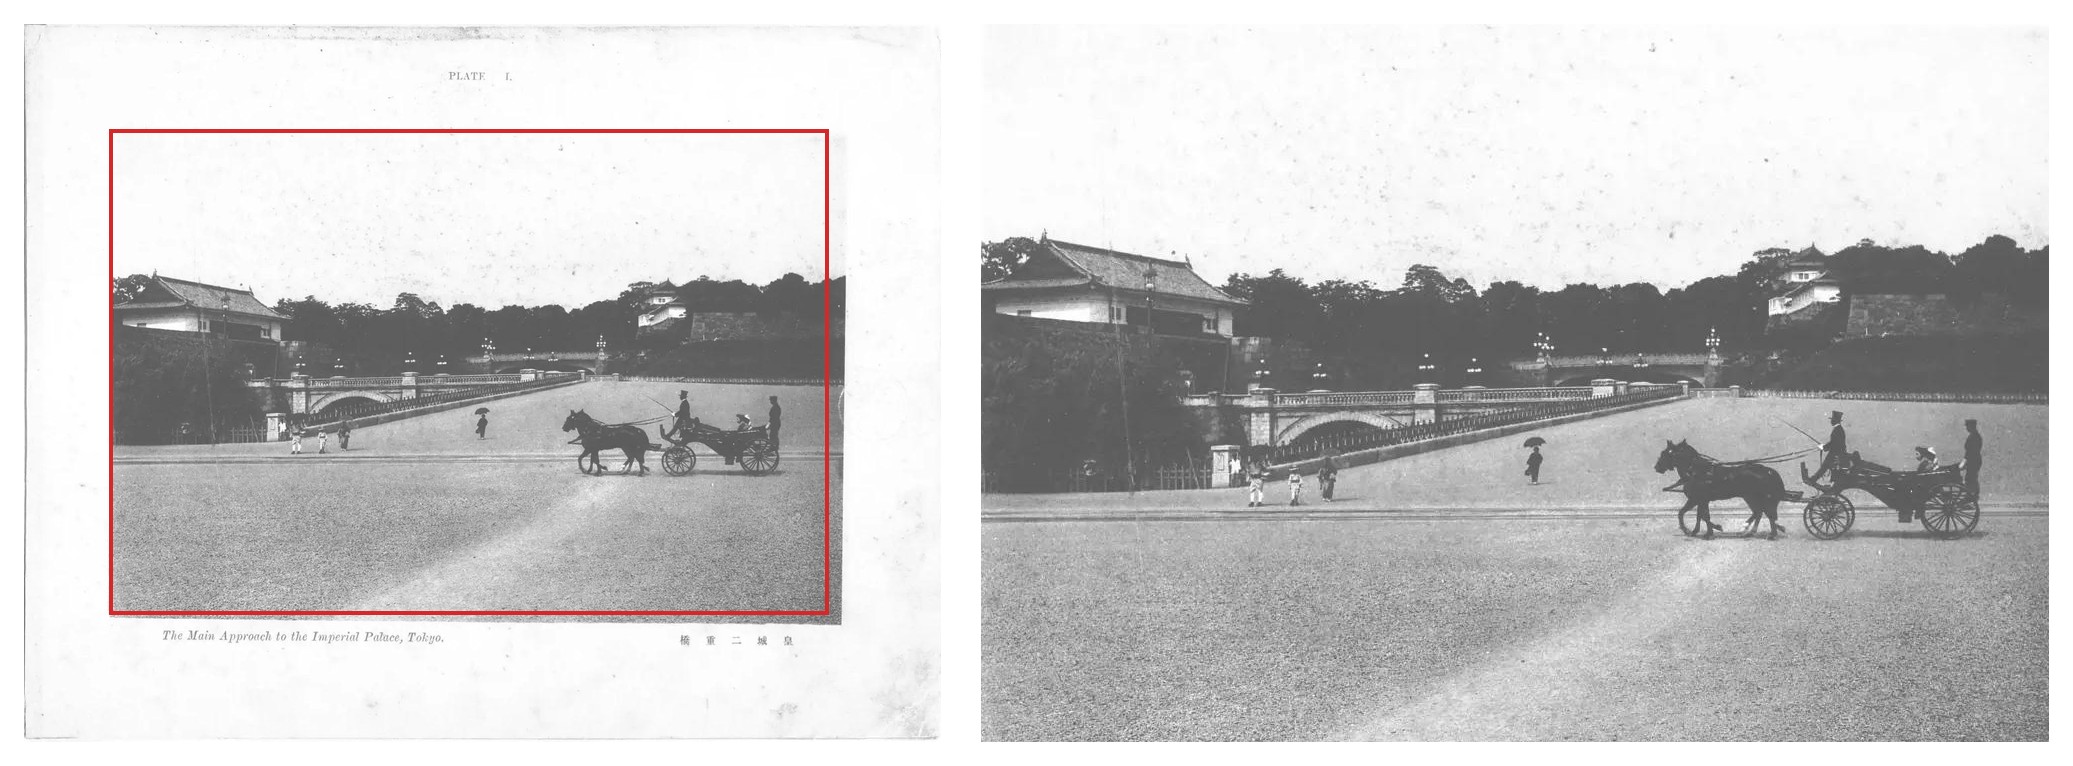
Straightening tilted old photos

Some old photos were pasted onto their mounts slightly crooked. Others were photographed with the whole book askew. Even a small tilt is easy to spot in something that should be upright, like a pagoda or a pillar.
We measure the angle from the lines along the photo’s edges and straighten it.
Trimming leftover strips of paper
A book page has margins around the photo, and sometimes a title printed below it (see the left image of the Yasaka Pagoda above).
Cropping can leave a thin strip of white paper, or the frame line printed below the photo, along one edge. On a wallpaper, that shows up as a line at the edge of your screen, so we find and remove it.
Straight borders near the binding
Some woodblock prints were bound together into albums. When an album like this is photographed open, the paper bends near the binding, and a border that should be straight comes out bowed.
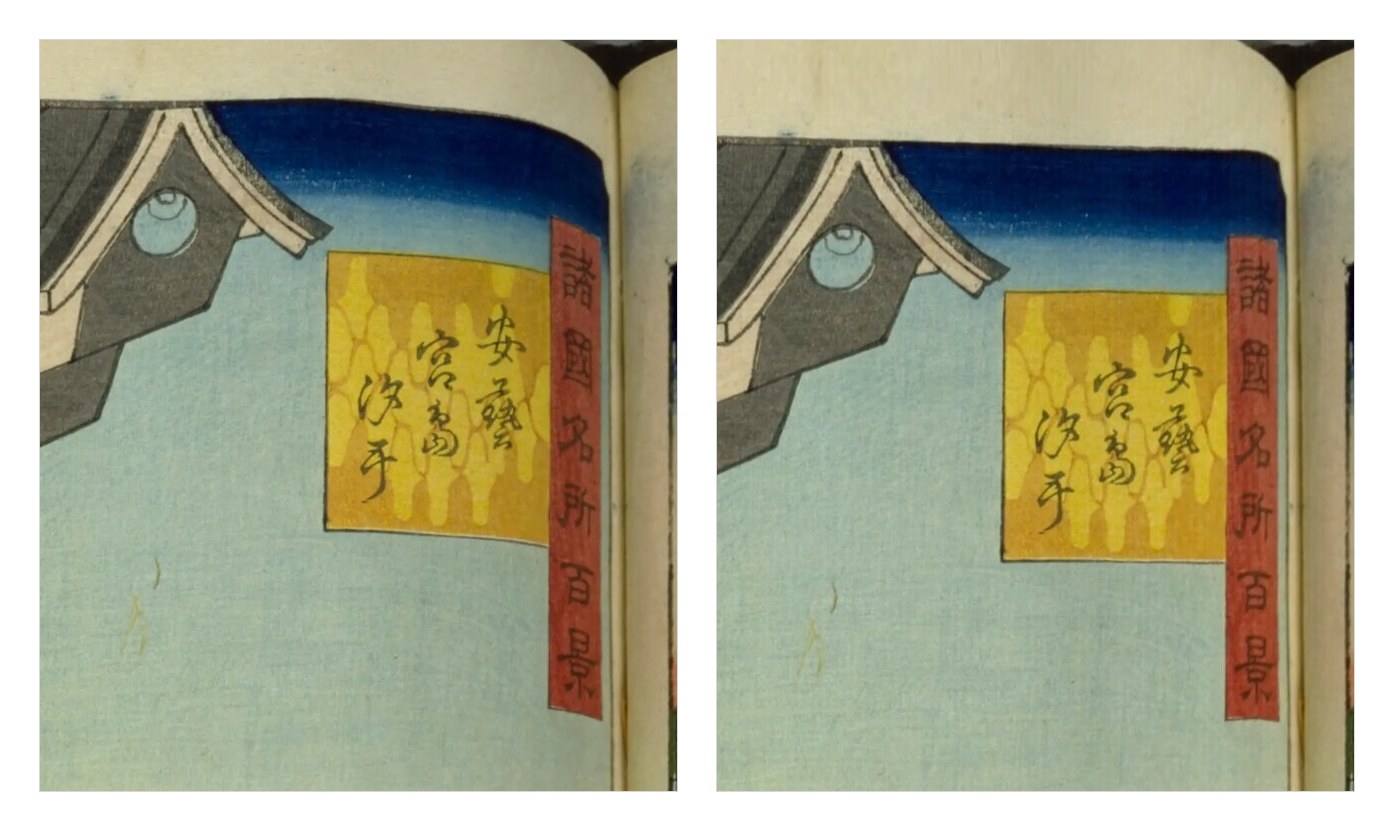
We trace the lines of the border and straighten the curved edge. Moving only the area along the edge would leave a kink in the picture, so we blend the change gradually into the whole print.
Sometimes the paper curls away from the camera, and the print comes out squeezed from side to side. If something in it was originally a rectangle, like the frame of the title panel, we use it as a guide to make the top and bottom the same width.
If the fix leaves the border wavier than before, we undo it. Parts that sank into the binding and never made it into the photo stay missing. We don’t paint them in.
Evening out the binding shadow
Near the binding, the paper curls and shows up as a dark band. We measure the paper’s brightness at each distance from the binding, then lift it smoothly to match the paper around it.
The colors themselves don’t shift. We brighten the red, green, and blue of each pixel by the same percentage, so indigo stays indigo and crimson stays crimson.

After the shadow is evened out, an AI checks that the night sky and black ink haven’t been washed out along with the paper, and that no streaks have appeared at the edges of the evened-out area. If anything looks unnatural, the print automatically goes back to how it was.
Round photos on a clean mount
Some old photos were cut into circles and pasted onto a mount. Just outside the circle, part of the next photo or some text may show up.
We paint over only the mount outside the circle, matching the color and mottling around it. We don’t touch the photo inside. Where the edge isn’t clear, we leave that area alone rather than risk cutting into the photo.
AI decides and people can undo
The fixes above are calculated by a program, and an AI looks at them and makes the call. Three more AIs, separate from the one that proposed the fix, then look at each fixed image on their own and vote.
- If at least two say it’s good, the fixed image replaces the current one, even if it’s already on the site (there’s a daily limit on replacements)
- If the vote doesn’t settle it, five AIs take a look, each playing a different role (a traditional scroll mounter, a museum curator, someone using it as a wallpaper, and so on)
- If that still doesn’t settle it, the current image stays and a person takes a look
When the measurement is clear-cut, as with tilt, we sometimes swap in the fix without waiting for a vote.
We keep the unfixed image for 30 days, so a fix can be reviewed later and undone. Once a fix has been undone, the AI won’t fix that photo again on its own.
Originals at the National Diet Library
In the National Diet Library Digital Collections, you can see each item as it was before we prepared it. Search there for the source title listed on each photo’s page, and you’ll find the original.